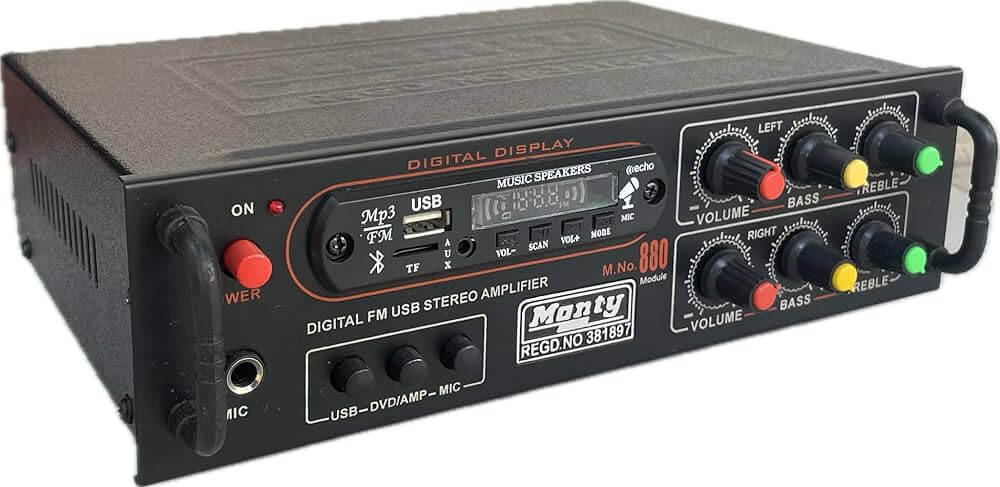
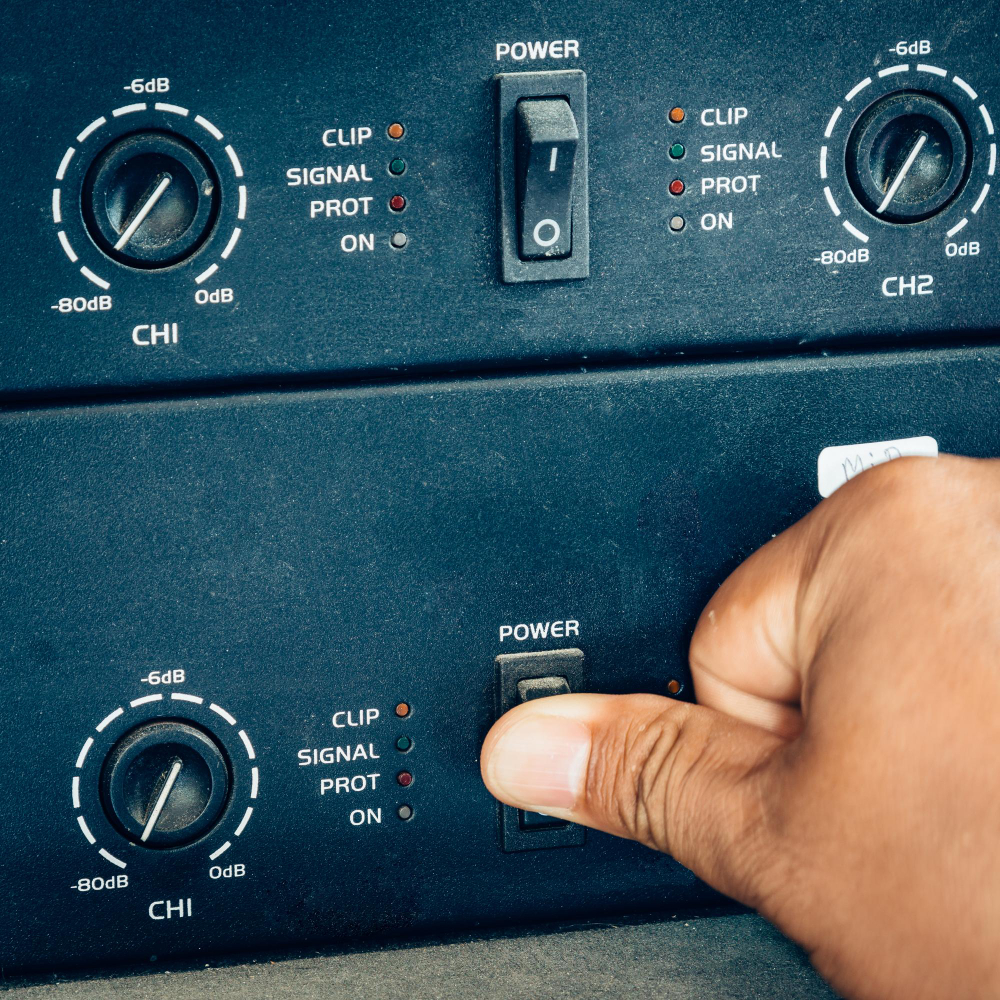
So, you’ve got your playlist ready, hit play, and suddenly, the sweet symphony turns into a cacophony of crackles and pops. Frustrating, right? Well, welcome to the world of amplifier problems, where identifying and fixing audio distortions can feel like navigating a musical minefield.
The Symphony of Amplifiers

In the heart of every sound system lies the unsung hero – the amplifier. This magic box takes your tunes from a whisper to a roar, adding that oomph to your auditory experience. But what happens when this hero goes rogue? Distortions sneak in, and suddenly, your favorite track sounds like it’s been through a blender.
Why Bother with Amplifier Woes?
Now, you might be thinking, “Why bother? Can’t I just crank up the volume and drown out the distortions?” Well, hold your horses. Ignoring amplifier issues is like ignoring a ticking bomb – sooner or later, it’s going to blow up your audio nirvana. Whether you’re in a cozy Brooklyn apartment or a sprawling New York loft, audio distortions don’t discriminate – they’ll find you.
Unveiling the Purpose
So, why are we here? This guide is your roadmap to identifying and repairing those pesky audio distortions. We’re diving into the nitty-gritty of clipping, overdrive, and signal interference. Think of it as your secret weapon against the sonic gremlins that threaten to ruin your musical bliss.
Are you ready to embark on this audio adventure? Well, tighten your seatbelt (or should I say speaker cable?), because we’re about to demystify the world of amplifier problems, right here from the bustling streets of Brooklyn, New York. Let’s get this show on the road!
Types of Audio Distortions
Clipping: The Silent Saboteur
Ever cranked up the volume only to hear your favorite guitar riff sound like a wounded animal? That, my friend, is clipping. It’s when the amplifier can’t handle the musical intensity and chops off the peaks of the waveform, resulting in a distorted mess. Watch out for those jagged edges in your sound!
| Identifying Clipping | Causes of Clipping | Effects on Audio Quality |
| Sudden, harsh sound | Overloading the amplifier | Loss of dynamic range, audible distortion |
| Distorted peaks in the waveform | Insufficient power supply | Unpleasant, sharp tones reminiscent of static |
| Audible crackling and popping | Inadequate amplifier headroom | Damage to speakers over time |
Distortion from Overdrive: When Too Much is Too Much
Imagine your sound taking a joyride down a rocky road – that’s overdrive distortion for you. It happens when you push your amplifier beyond its limits, creating a gritty, raucous tone. Great for rock concerts, not so much for your Sunday jazz session.
| Understanding Overdrive Distortion | How Overdrive Occurs | Impact on Audio Signals |
| Grains and grit in your audio | Cranking up the gain too high | Warm, saturated tones but with a loss of clarity |
| Sustained, distorted notes | Pushing the amplifier into saturation | Distorted harmonics, a signature of rock music |
| Distinctive growling sound | Intentional distortion for effect | A departure from the clean, original signal |
Signal Interference: The Ghost in the Machine
Ever heard strange radio signals mingling with your favorite track? That’s the work of signal interference. External forces sneak into your amplifier, causing unwanted noise and distorting the purity of your sound.
| Sources of Signal Interference | Identification of Interference-Related Distortions | Consequences on Audio Reproduction |
| Electronic devices nearby | Random bursts of static or buzzing | Deterioration of audio quality, loss of clarity |
| Poorly shielded cables | High-pitched whining or humming | Disruption of delicate nuances in the music |
| Radio frequency interference | Inconsistent volume levels or unexpected sound changes | Unwanted artifacts, distracting from the music |
As you navigate the audio landscape, keep these distortions in your back pocket. Next up, we’ll delve into the detective work – how to diagnose amplifier problems like a seasoned pro.
Diagnosing Amplifier Problems
So, your amplifier is throwing a tantrum, and your tunes are caught in the crossfire. Fear not! We’re about to play detective and unravel the mysteries behind those pesky distortions.
Visual Inspection: Peeking Under the Hood
- Checking for Loose Connections and Damaged Components
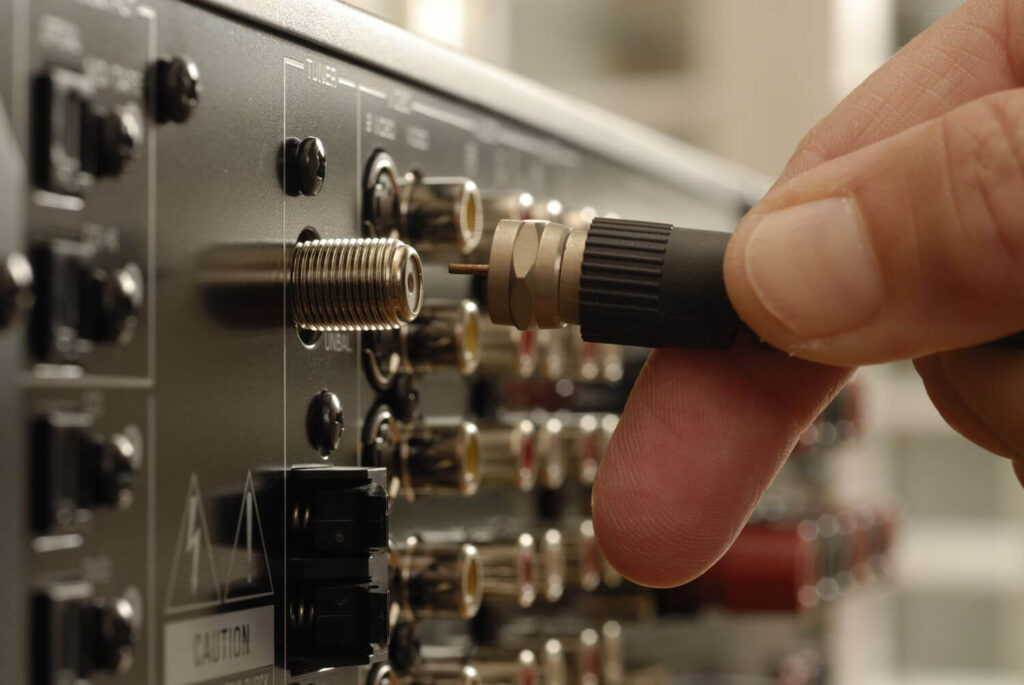
Ever heard the phrase “loose lips sink ships”? Well, in the audio world, loose connections sink sound quality. Start by inspecting all cables, ensuring a snug fit. Peek inside your amplifier for any visibly damaged components – burnt resistors, swollen capacitors, or frayed wires. A visual once-over might just reveal the smoking gun.
- Examining the Amplifier Circuit Board for Signs of Wear
Amplifiers are warriors in the sonic battlefield, and battle scars are inevitable. A battle-weary circuit board might show signs of wear, like solder joints turning crusty or discolored areas. Scan for any irregularities; sometimes, the silent villains leave visible footprints.
- Verifying the Integrity of Input and Output Connections
Think of your amplifier as a maestro orchestrating a symphony. If the instruments (input and output connections) aren’t in harmony, chaos ensues. Ensure all connectors are secure and free from corrosion. A little TLC for these connections might just be the encore your amplifier needs.
Listening Tests: Trust Your Ears
- Conducting a Listening Test to Identify Audible Distortions
This is where your ears become the judge, jury, and executioner. Play a reference track, crank up the volume, and listen for any unwelcome guests – crackles, pops, or that annoying hum. Your ears are your best allies in this sonic investigation.
- Utilizing Reference Audio Sources for Comparison
Every detective needs a baseline for comparison. Keep a trusted, distortion-free audio source in your arsenal. Compare the suspect amplifier’s output with the clean source – any deviations might expose the culprit.
- Noting Any Anomalies in Audio Playback
Make mental (or written) notes of oddities. Does the distortion occur at specific frequencies or volume levels? Does it intensify over time? These clues can guide you towards a targeted solution.
Using Test Equipment: Unleash the Tech Arsenal
- Introduction to Basic Test Equipment (Multimeter, Oscilloscope)
Time to bring out the big guns – your tech arsenal. A multimeter helps measure voltage and resistance, while an oscilloscope unveils the secret life of your audio signals. Familiarize yourself with these tools; they’re your allies in the battle against distortions.
- Demonstrating How to Measure Voltage and Current
Voltage and current are the lifeblood of your amplifier. Learn to measure them like a pro. Anomalies in these metrics could point directly to the source of your amplifier’s rebellion.
- Interpreting Test Results to Identify Potential Issues
Numbers don’t lie – if you know how to read them. Interpret the test results like deciphering a musical score. An abnormal spike or dip could reveal the hidden melody of your amplifier’s distress.
Common Amplifier Problems and Solutions

Alright, audio adventurer, you’ve strapped on your detective gear, identified the suspects, and now it’s time to bring justice to your amplifier. We’re delving into the most common problems, unveiling their secrets, and handing you the tools to restore order to your audio kingdom.
Overheating: When Your Amp Needs a Chill Pill
- Causes of Amplifier Overheating
Amplifiers, like us, can’t handle relentless heat. Investigate the surroundings – is your amplifier cozy in a well-ventilated space, or is it stuck in a heatwave between other electronic devices? Overloading the amplifier or a faulty cooling system can also turn up the heat.
- Implementing Proper Ventilation and Cooling Techniques
Give your amp some breathing room. Ensure it’s not boxed in, and the cooling fans (if any) are doing their job. Consider additional cooling solutions like external fans or heat sinks to keep things breezy.
- Checking and Replacing Overheated Components
Inspect the components for burn marks or that distinct smell of overheated electronics. Swap out any scorched soldiers – resistors, capacitors, or transistors – and your amplifier might just cool its jets.
Capacitor Issues: The Silent Saboteurs
- Identifying Faulty Capacitors in the Amplifier
Capacitors store energy like a musical time capsule. If they go rogue, your sound becomes a distorted relic. Inspect capacitors for bulging, leakage, or any signs of electrical distress.
- Replacing Defective Capacitors
Swap out the troublemakers. If you spot a capacitor on the fritz, replacing it with a fresh one of the same specifications can resurrect your amplifier’s sonic prowess.
- Tips for Capacitor Maintenance and Prevention
Capacitors aren’t eternal, but proper care can extend their lifespan. Consider periodic checks, especially if your amplifier has been on a sound marathon. Preventive maintenance is the key to keeping the capacitors harmonizing happily.
Power Supply Problems: Keeping the Current Flowing
- Recognizing Issues with the Power Supply
The power supply is the beating heart of your amplifier. If it falters, your sound takes a nosedive. Watch for erratic power delivery, voltage drops, or flickering lights – signs that your power supply might be on the fritz.
- Troubleshooting and Repairing Power Supply Problems
Investigate the power supply circuitry. Check for loose connections, burnt components, or frayed wires. A meticulous examination can pinpoint and rectify power supply woes, restoring the life force to your amplifier.
- Importance of Stable Power for Amplifier Performance
Think of your amplifier as a race car – it needs a stable track to perform optimally. A consistent power supply ensures a smooth ride for your audio signals, preventing distortions and maintaining fidelity.
Preventive Maintenance: The Sonic Shield
You’ve triumphed over overheating, conquered capacitor chaos, and tamed power supply pandemonium. Now, it’s time to don the mantle of a sonic custodian – let’s talk preventive maintenance. Just as you wouldn’t neglect your car, your amplifier deserves a regular tune-up to keep those audio frequencies dancing smoothly.
Regular Inspection: Eyes on the Prize
- Establishing a Routine for Visual Checks and Inspections
Make it a habit – a monthly rendezvous with your amplifier. Check for loose connections, inspect the circuitry, and scan for any signs of wear and tear. A proactive eye can catch issues before they crescendo into major problems.
- Identifying Potential Issues Before They Escalate
Think of your amplifier as a musical fort, and you’re the vigilant guard. Spotting potential issues early on – whether it’s a loose wire or a capacitor inching towards retirement – allows you to nip them in the bud before they sabotage your sonic kingdom.
- Importance of Proactive Maintenance
Why wait for the storm when you can bask in sunshine? Proactive maintenance is the unsung hero of amplifier longevity. Regular checks and quick fixes ensure your amplifier continues to be the virtuoso of your audio ensemble.
Cleaning and Dust Removal: Banishing the Sonic Cobwebs
- Discussing the Impact of Dust on Amplifier Components
Dust – the arch-nemesis of delicate electronics. It settles, infiltrates, and wreaks havoc on your amplifier components. A dusty amplifier is like a muffled orchestra – the clarity and brilliance suffer.
- Proper Cleaning Techniques and Materials
Equip yourself with the right tools – anti-static brushes, compressed air, and a gentle touch. Sweep away the cobwebs, gently blow away the dust, and watch your amplifier breathe a sigh of relief.
- Preventing Dust Accumulation for Prolonged Amplifier Lifespan
An ounce of prevention is worth a pound of cure. Consider placing your amplifier in a dust-free zone, away from furry pets and open windows. A dust cover when not in use adds an extra layer of protection, ensuring your amplifier stays pristine for the long haul.
Encouragement for Regular Maintenance
As you venture back into the realm of tunes and beats, remember, a well-maintained amplifier isn’t just a gadget; it’s the curator of your auditory experiences. Regular checks and a touch of TLC will keep your amplifier humming contentedly, providing you with crisp, distortion-free soundscapes.
So, keep those cables snug, eyes sharp, and cleaning brushes ready. Your amplifier, now tuned to perfection, awaits the next sonorous adventure. May your audio journey be rich, vibrant, and blissfully free of distortions. Happy listening!
Frequently Asked Questions (FAQ)
- What is audio distortion, and how does it affect my amplifier?
Audio distortion refers to any undesired alteration in the original sound signal, leading to a degradation in audio quality. In amplifiers, distortion can manifest as clipping, overdrive, or signal interference, adversely impacting the fidelity of the reproduced sound.
- How can I identify audio distortions in my amplifier?
You can identify audio distortions through visual inspections, listening tests, and using test equipment like multimeters and oscilloscopes. Clipping often results in jagged waveform edges, overdrive produces gritty and sustained tones, and signal interference introduces random bursts of static or buzzing.
- What preventive maintenance should I perform on my amplifier?
Regular visual inspections to check for loose connections and damaged components, combined with routine listening tests, can help catch issues early. Additionally, proper cleaning using anti-static brushes and compressed air prevents dust accumulation, preserving the amplifier’s components.
- What are common problems that can occur in amplifiers?
Common amplifier problems include overheating, capacitor issues (bulging or leaking capacitors), and power supply problems (erratic power delivery or voltage drops). Addressing these problems promptly can prevent further damage to your amplifier.
- How can I troubleshoot overheating issues in my amplifier?
Ensure proper ventilation for your amplifier by keeping it in a well-ventilated space and checking cooling components like fans. If overheating persists, inspect for burnt components, replace damaged parts, and consider external cooling solutions such as fans or heat sinks.
- Is regular preventive maintenance necessary for amplifiers?
Yes, regular preventive maintenance is crucial to ensure the optimal performance and longevity of your amplifier. Visual inspections, routine listening tests, and cleaning can help identify and address potential issues before they escalate, contributing to a prolonged and trouble-free amplifier lifespan.
- Can I clean my amplifier with regular household cleaning products?
It’s recommended to use specialized cleaning tools for amplifiers, such as anti-static brushes and compressed air. Avoid using regular household cleaning products, as they may contain chemicals that can damage sensitive electronic components.
- How often should I perform maintenance on my amplifier?
Perform visual inspections and routine cleaning on a monthly basis. Listening tests can be conducted periodically to catch any emerging distortions. However, the frequency of maintenance may vary based on usage and environmental conditions.
- Can I repair amplifier issues myself, or should I seek professional help?
Simple maintenance tasks like visual inspections and cleaning can often be performed by users. However, if you encounter complex issues or are unfamiliar with electronic components, it’s advisable to seek professional assistance to prevent further damage.
- What are the signs that my amplifier needs professional repair?
Signs that your amplifier may need professional repair include persistent distortions despite basic troubleshooting, strange smells, or visible damage to internal components. If in doubt, consulting with a qualified technician can help diagnose and address issues effectively.


